Visualizers
The full-screen graphic behind the instrument, the "hero," is always on. It's a renderer (a "skin") reacting live to what you play, and on many skins to your touch on the screen.
Picking a skin
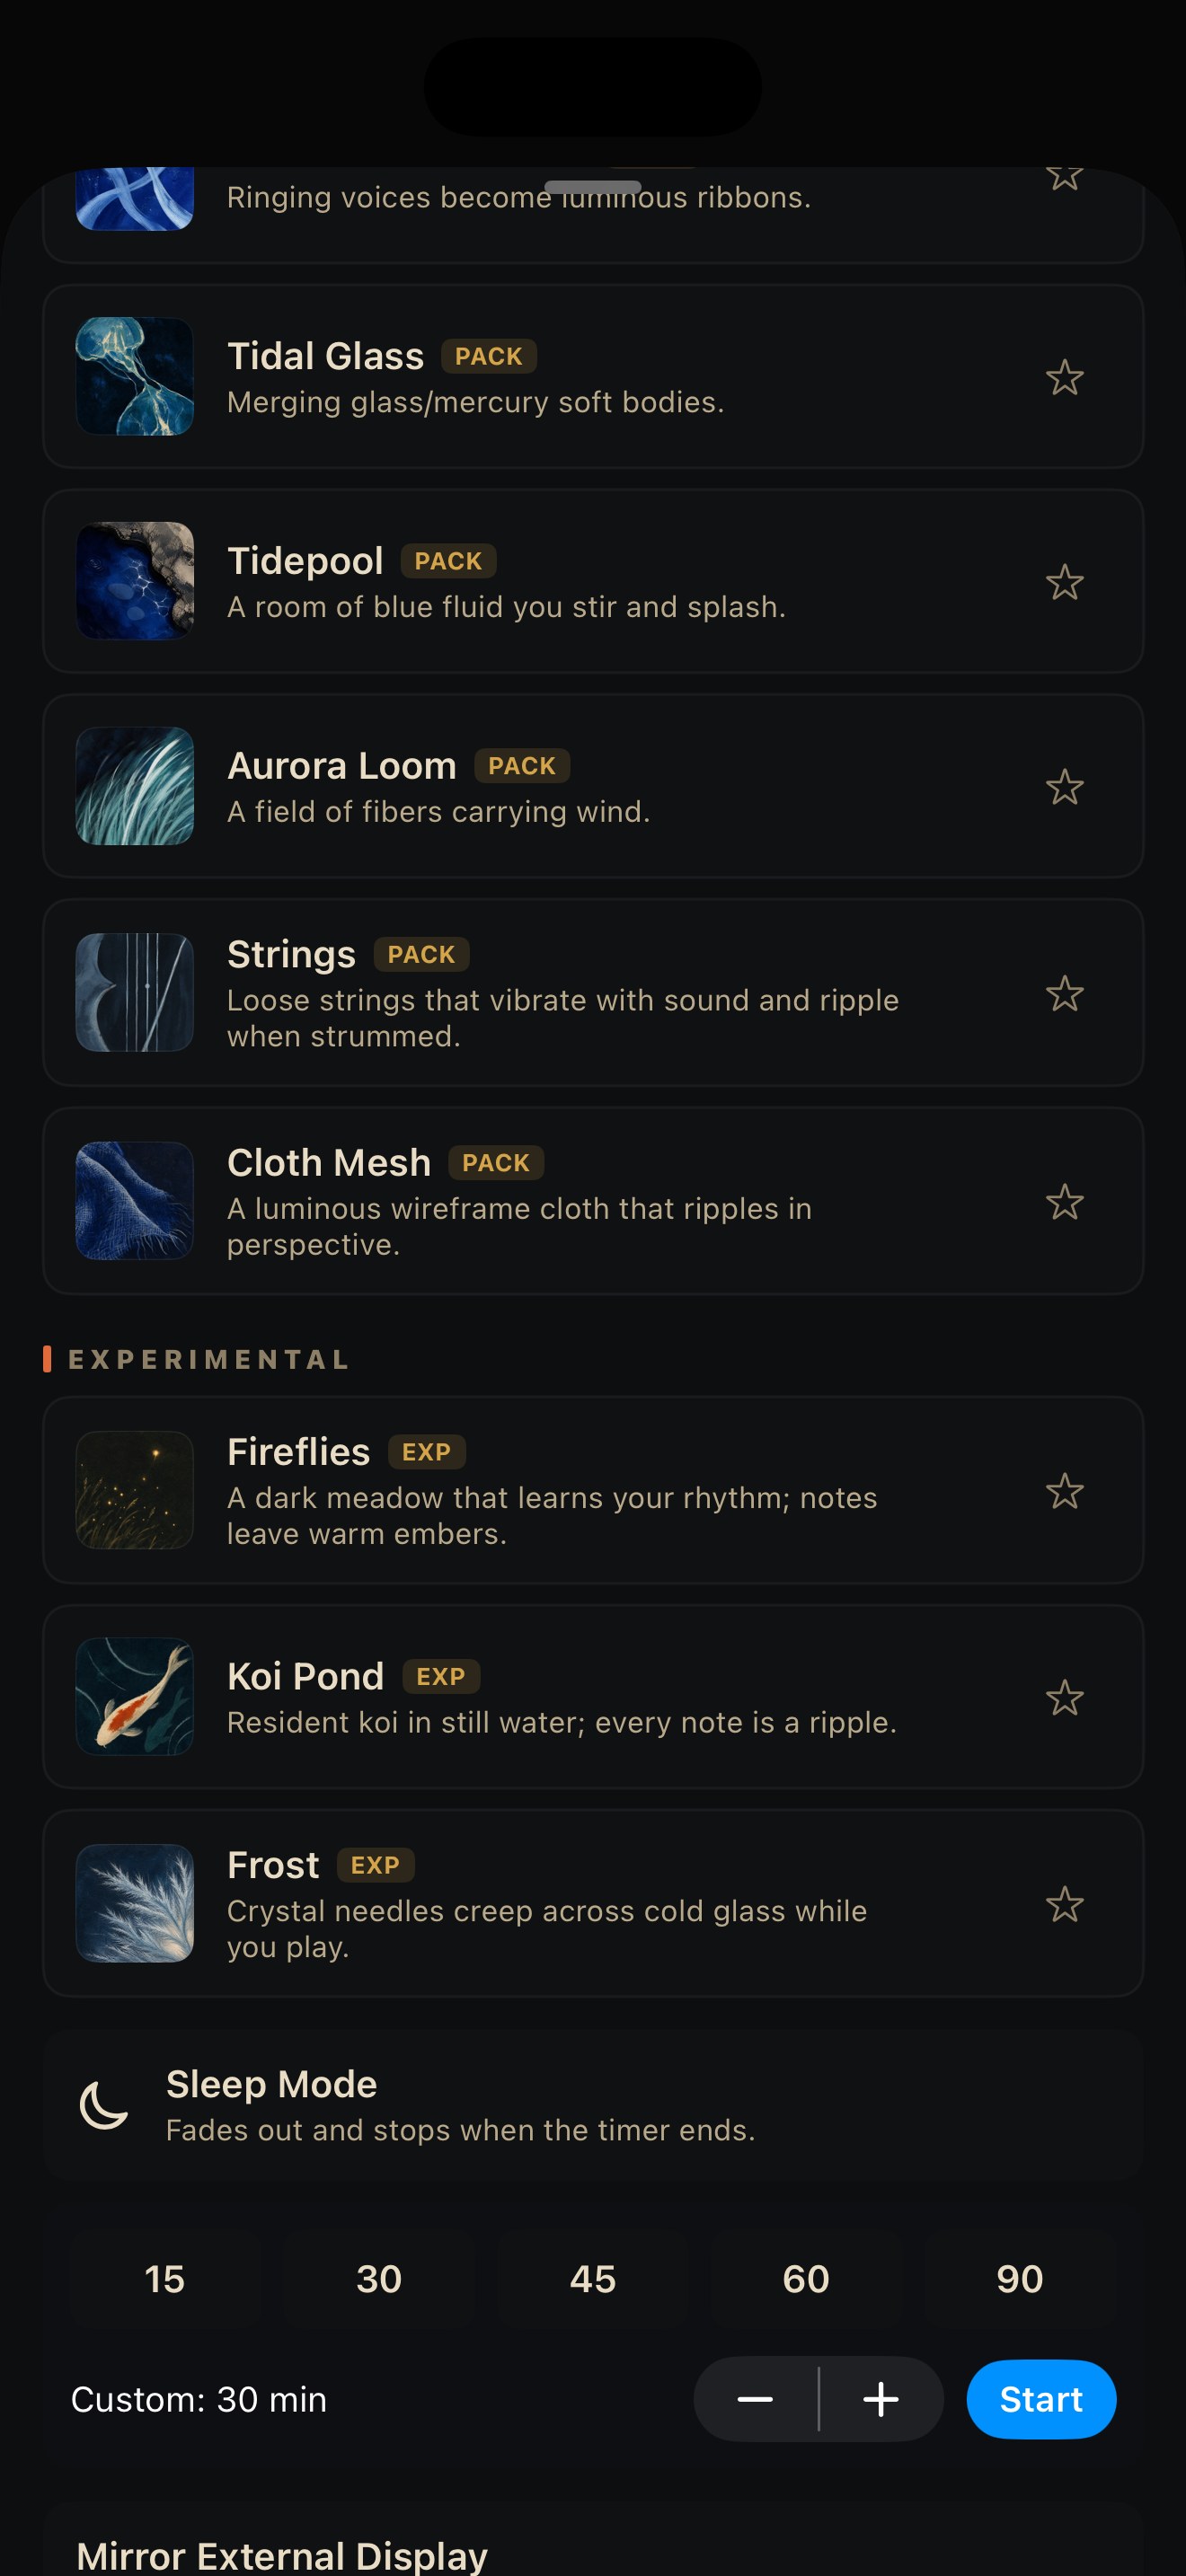
Tap the small icon button over the top-left of the hero to open the skin picker: a scrolling list grouped into Favorites, Free, Flow Pack, Scientific Pack, Fractal Pack, Complete Collection, and Experimental. Each row shows a thumbnail, the skin's name, a one-line description, and a star. Tap a row to switch to that skin and close the sheet. Tap is the only gesture here; there's no swipe or long-press shortcut.
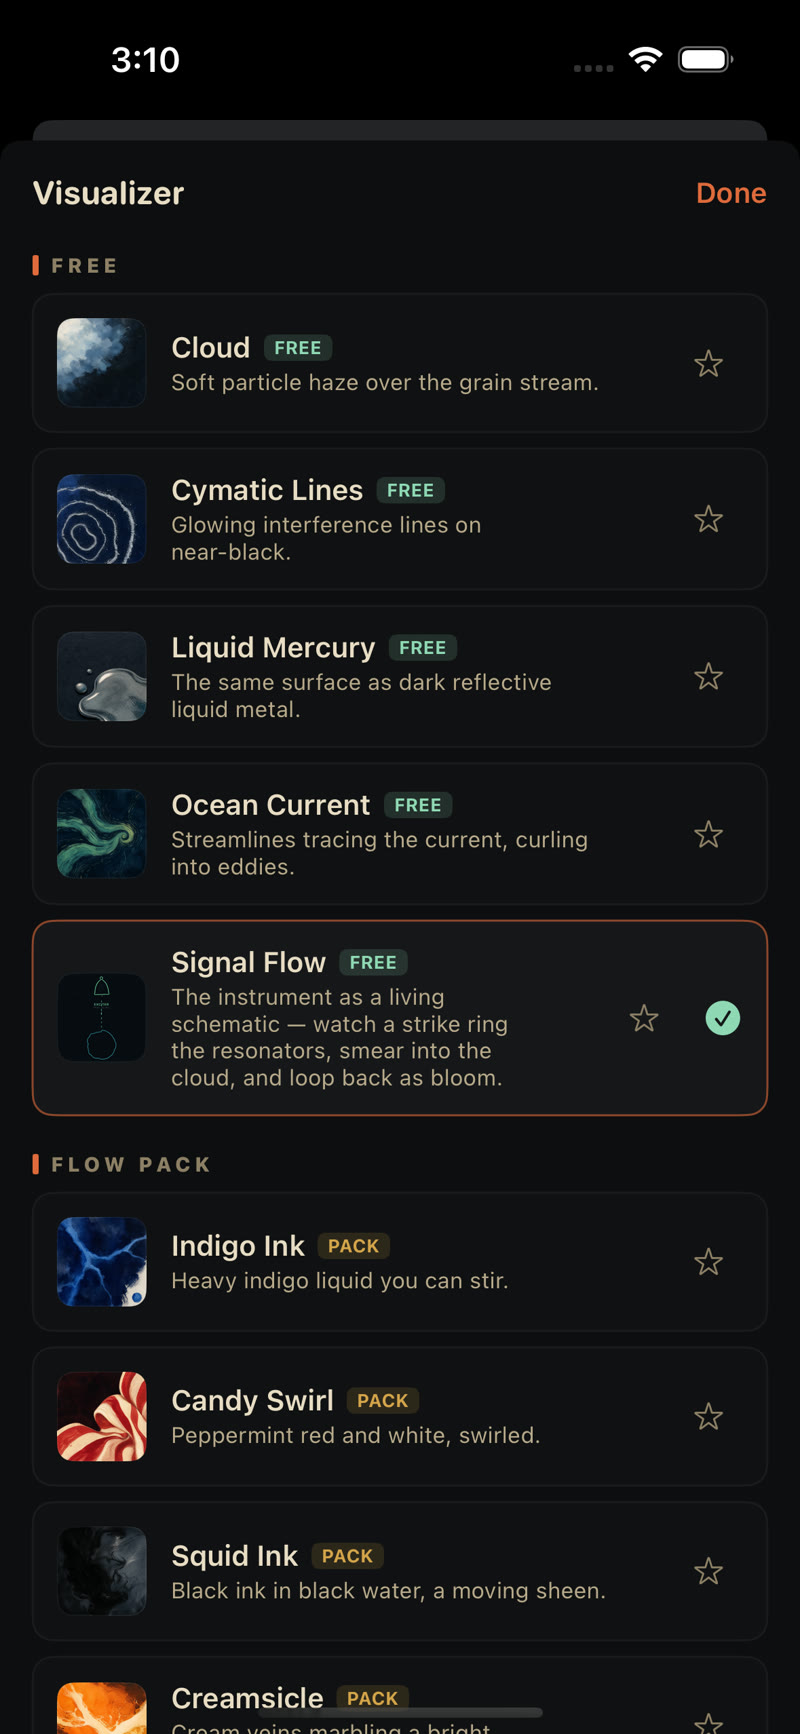
Tap the star on any row to favorite it, same idea as favoriting a sound (see Presets and favorites). Starring adds the skin to your Favorites group at the top of the list; it doesn't select the skin.
What reacts to sound
Every skin reads the same feed: each active voice's pitch and energy, note onsets as they happen, and the resonator's raw output. Some skins (Scope, Trace, Harmonograph, Seismograph, and Oscilloscope) draw literal representations of the audio signal: waveforms, an XY phosphor trace, a strip-chart. Most of the rest turn sound into a simulated physical process: a wave tank, a fluid, a field of fireflies, a growing fractal.
What reacts to touch
Touch on the hero (position, drag, speed) reaches whichever renderer is active as a single shared signal, and each skin decides for itself whether and how to use it. Most skins do something: they push, pluck, melt, gather, or otherwise disturb the simulation at your fingertip. A handful (Scope, Trace, Harmonograph, Seismograph, Rosette) are watch-only and never respond to touch at all; Oscilloscope replaces touch response with two persistent sliders. The full skin-by-skin breakdown is in the visualizer skin catalog.
The skin shapes the touch sound too
Notes you play by touch, not by MIDI, run through a short attack-shaping envelope, and the app picks that envelope from your active skin: a plucked, string-like attack under the string/fiber skins, a softer flowing attack under the ink and liquid skins, a duller dust-settling attack under the particle/cymatic skins, and so on. Change the skin and the touch-strum character changes with it. There's no control for this; it follows the skin.
Freeze and maximize
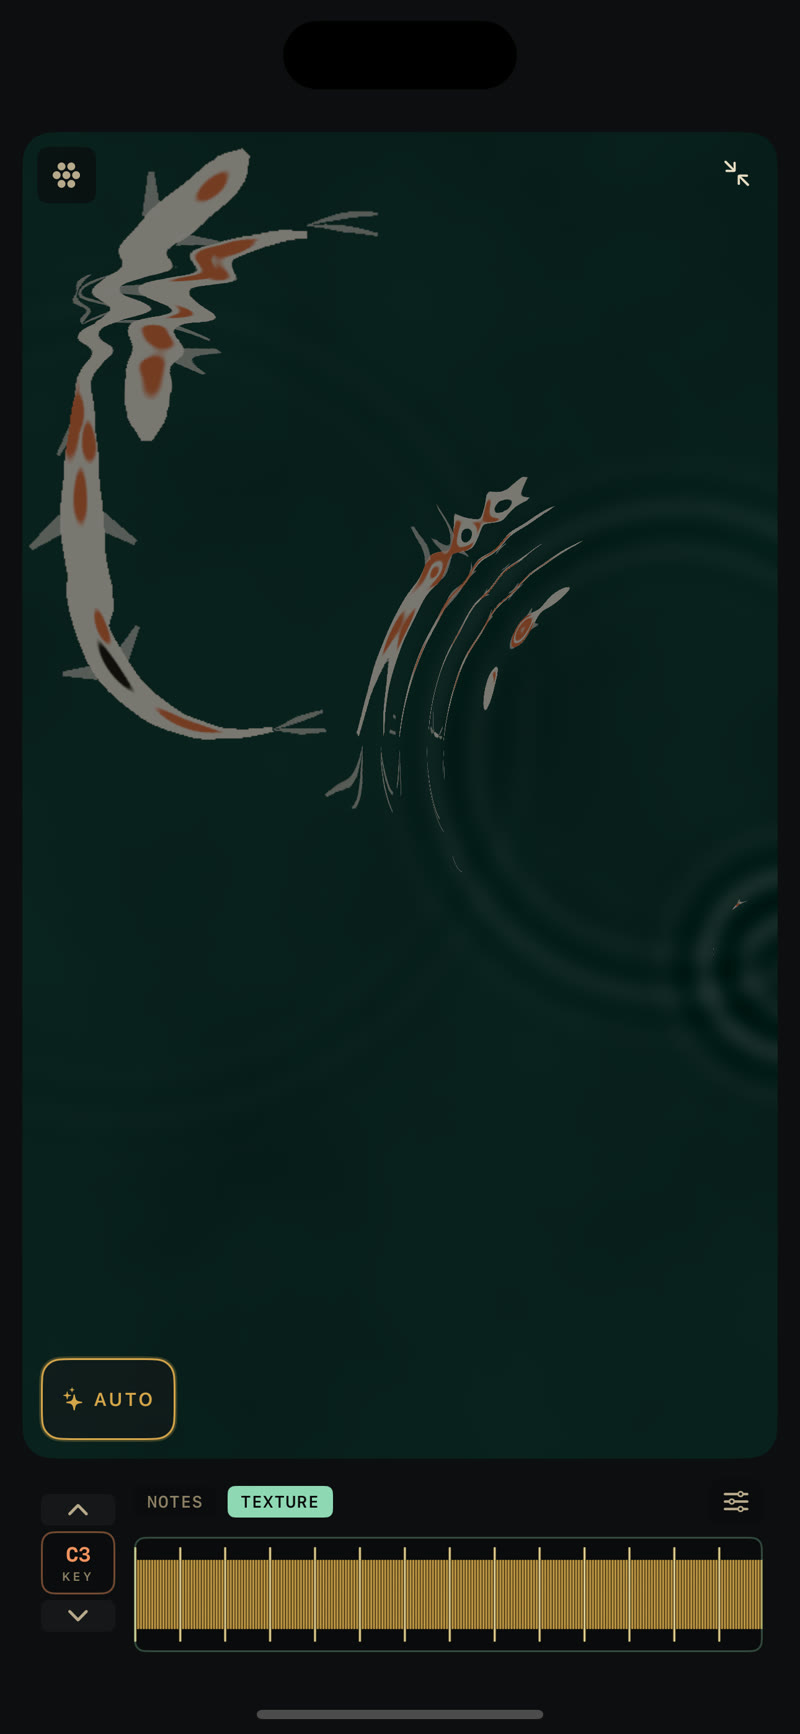
Two more chips sit over the hero alongside the skin picker. Tap FREEZE to hold the particle-cloud stream where it is; it stops reading on across the buffer. Tap the maximize button (the diagonal-arrows icon) to expand the hero to fill the whole screen, hiding the surrounding panels until you tap it again.
Recording and exporting video
Where to find it
Video export is not a menu of its own, and it is not called "export". It lives in the skin picker, under the name Record Performance, and it sits at the top of the sheet, above the skin list (moved up in 1.0.3; it used to be at the very bottom). Open the picker with the small icon button over the top-left of the hero. Recording and exporting are one flow: you record a take first, and the export options come up when you stop.
Recording and export are part of Studio, so they need the in-app unlock. On a free install the row reads Part of Studio, and tapping it takes you to the unlock rather than starting a recording.
Standalone app only
Record Performance is in the standalone Particle Chimes app. It is not available when you run Particle Chimes as an AUv3 plugin inside AUM, Logic, Cubasis or any other host: the row is absent from the picker rather than locked, so there is nothing to find. Record in the host instead, and use the standalone app when you want the visuals captured with the audio.
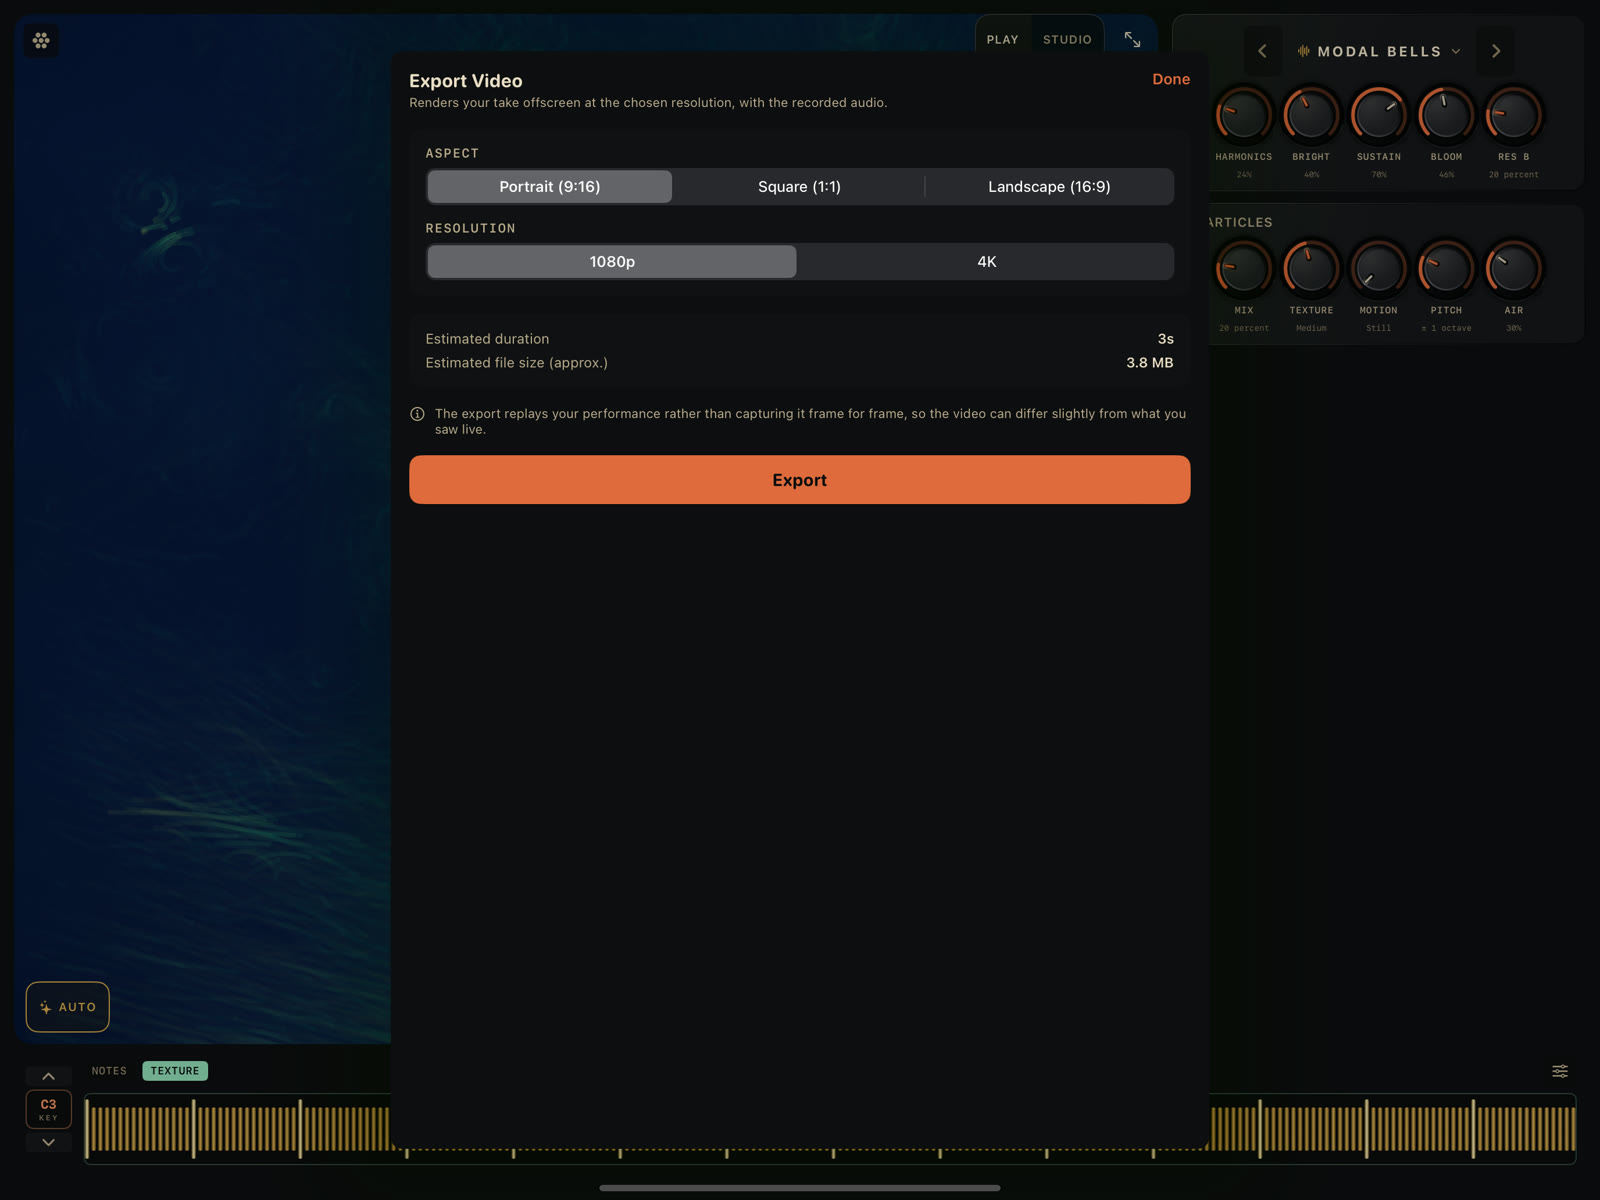
Tap Record Performance. The picker closes, a red REC banner appears at the top of the screen, and the app starts capturing your audio and the visual together. Tap the banner (or the row again) to stop, and the Export Video sheet opens:
- Aspect: Portrait (9:16), Square (1:1), or Landscape (16:9).
- Resolution: 1080p or 4K.
- An estimated duration and file size for the take, updated as you switch options.
Pick your settings and tap Export. The video renders offscreen and saves to your Photos library. Export replays your performance through the renderer, so it comes out clean at full quality, with no UI chrome, at whichever aspect and resolution you picked. Nothing is screen-recorded. You can export the same take again at different settings, but only until you close the sheet. As the sheet notes, a replay can differ in small ways from what you saw live.
Hi-Res Visuals
A toggle in the skin picker, reading Hi-Res Visuals: sharper skins, uses more battery. On it renders the visualizer at a higher quality tier; off it stays at the normal tier.
Hi-Res is part of Studio, so it needs the in-app unlock. Without it the row reads Sharper skins. Part of Unlock Everything and opens the unlock instead of toggling. Setting the preference before you buy is fine: it takes effect the moment the unlock lands.
Standalone app only, and only on some iPads
The toggle appears only in the standalone app, and only on devices whose GPU can sustain it: A14, M1 and later qualify, as do the larger older iPad Pros (A12X and A12Z). On anything else, and in the AUv3, the row is hidden rather than disabled.
Two things override the setting while it is on, both automatic:
- Low Power Mode drops the visualizer to a lower tier than normal, whether or not Hi-Res is on.
- Thermal pressure drops it back to the normal tier once the device gets hot.
So Hi-Res is a ceiling, not a floor. If the picture looks softer than you expect, check Low Power Mode first.
Hi-Res is not tied to the export resolution. Video export renders offscreen at whatever resolution you pick in the Export Video sheet, independent of this toggle.
Hi-Res applies to an attached external display too. See External displays.
Sleep Mode
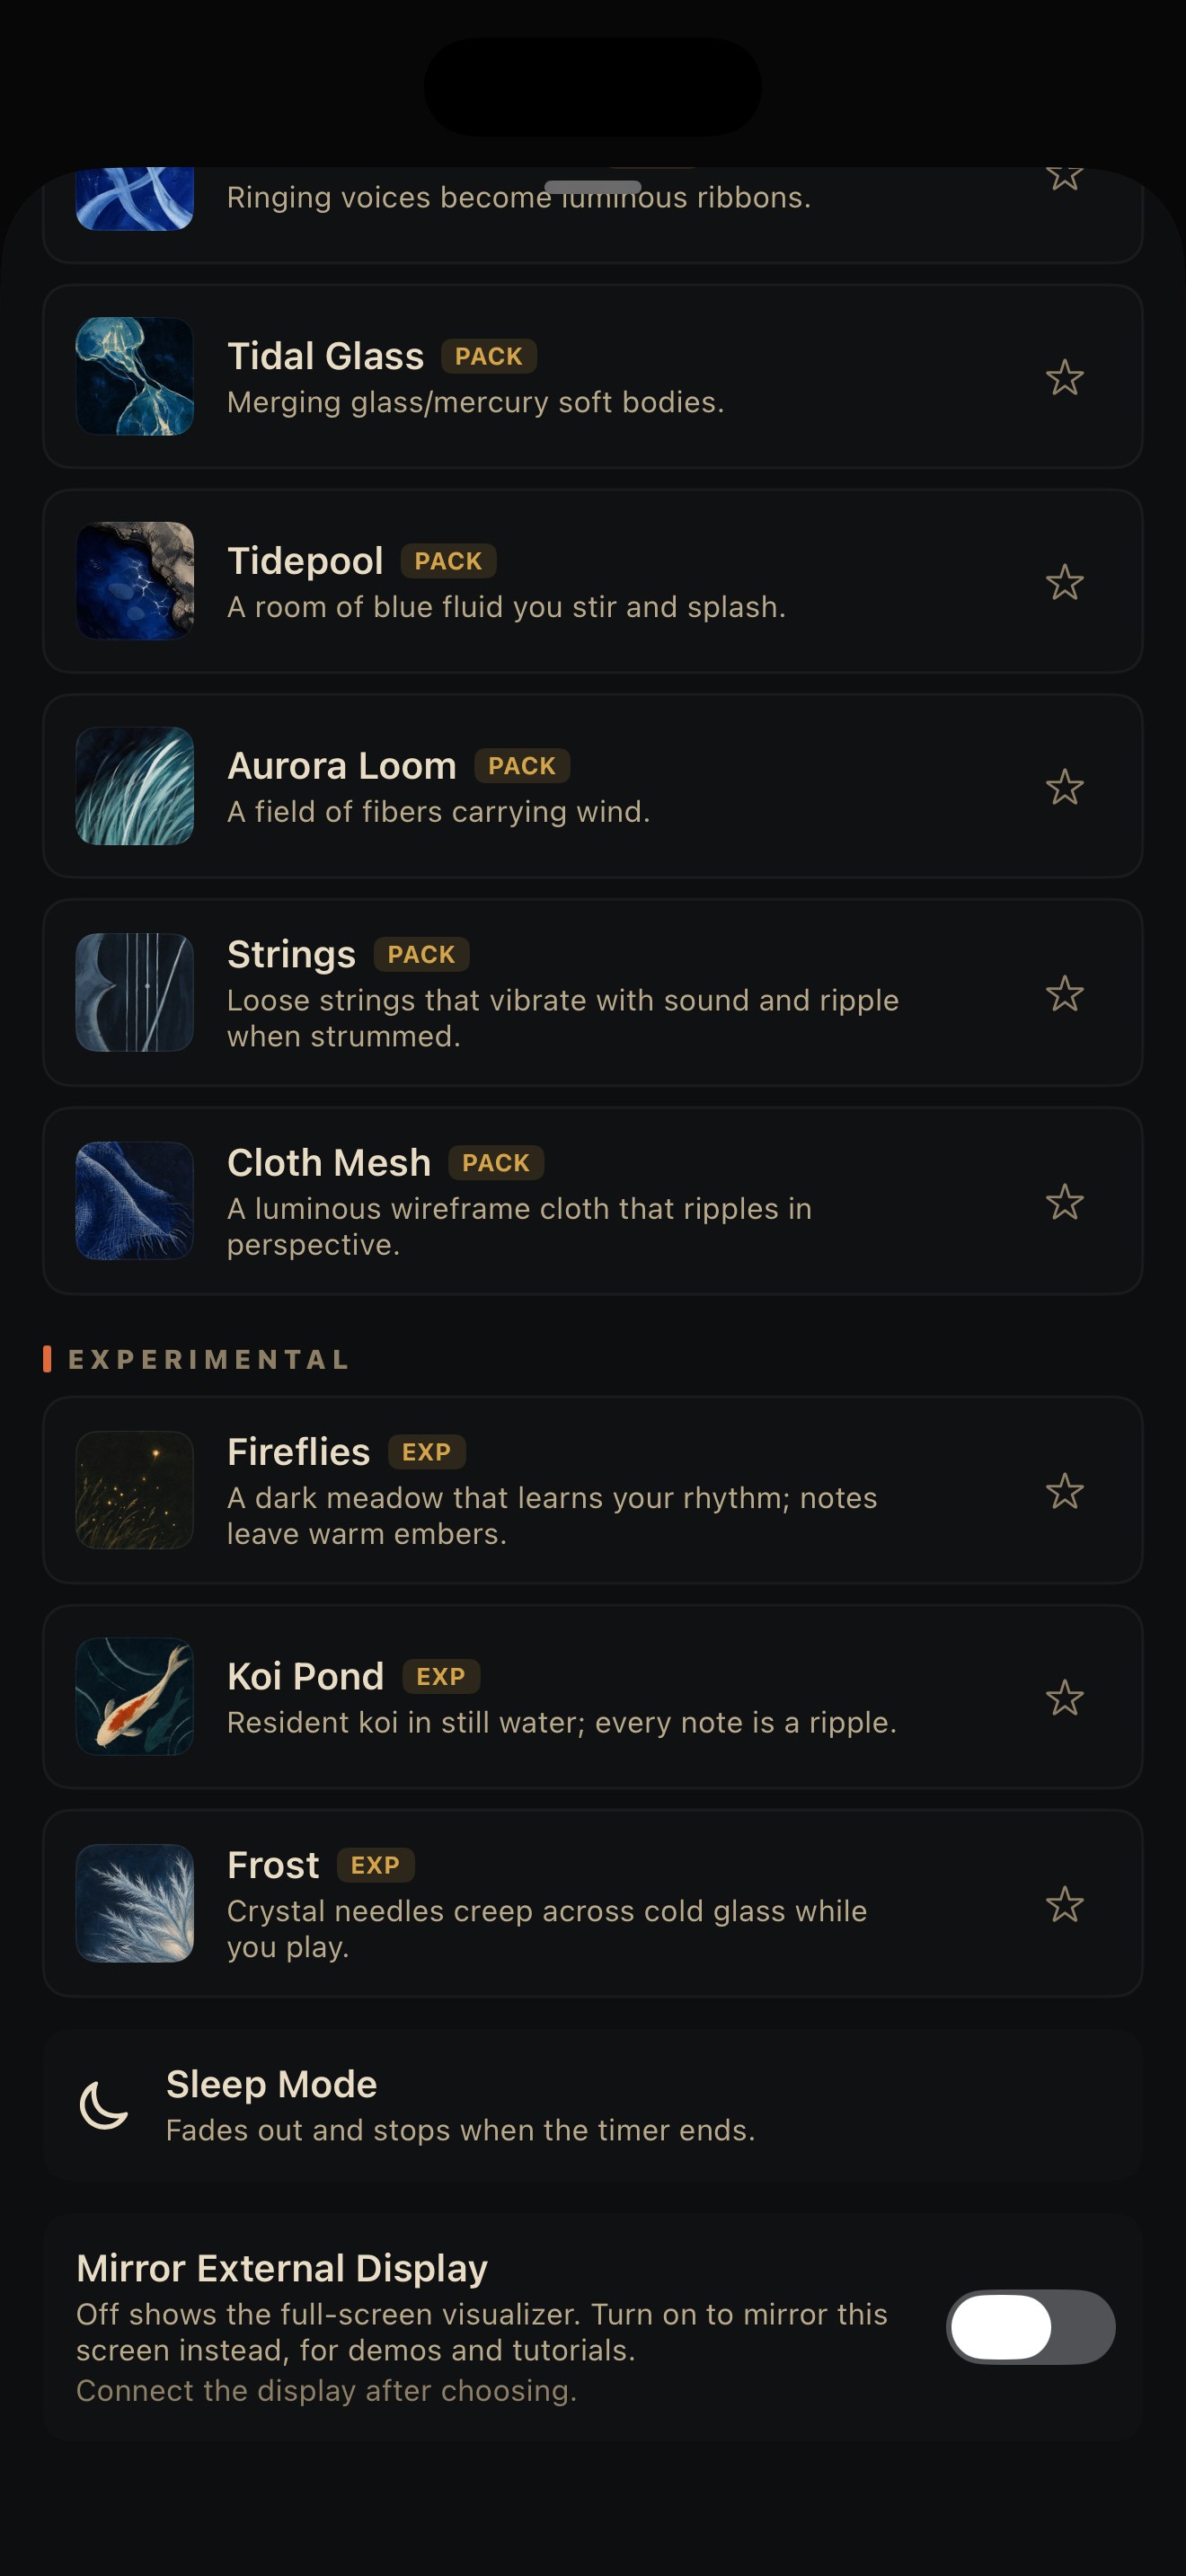
A row at the bottom of the skin picker, under the skin list. It fades the sound out after a set time and stops the engine, for falling asleep to a patch.
Sleep Mode is part of Studio, so it needs the in-app unlock. On a free install the row reads Part of Studio: unlock to fade out and sleep.
Standalone app only
Like Record Performance, Sleep Mode is absent in the AUv3. Hosts own the transport, so stopping playback is the host's job there.
Tap the row to open the duration chooser. Presets are 15, 30, 45, 60 and 90 minutes, or type a custom length (1 minute to 12 hours). Tap a duration and the row switches to a live countdown, which you can tap again to cancel.
When the timer reaches zero the sound fades out over 20 seconds, then the auto-player stops and the audio engine halts. Re-arming part-way through a fade restores full level and starts the new timer, so you can change your mind while it is fading.
Where to go next
Visualizer skin catalog: every skin, what it looks like, and exactly what happens when you touch it.